Football warm-up drills: Simple exercises to avoid injuries

-
Football warm-up drills: Simple exercises to avoid injuries
Football Techniques Book

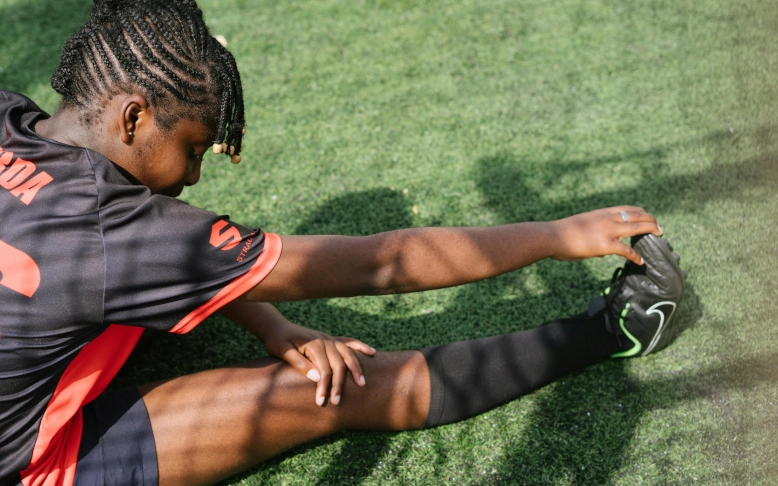
Being on the pitch is more fun than being off the pitch. If you are serious about playing football, you must warm up before training sessions and games. This is especially important the colder the weather is and the older you are. The football warm-up drills detailed in this post are proven to reduce the risk of all types of injuries by 30% and severe injuries by 50%. They only take 15 minutes to complete.

Why is it important to warm up?

Most people who kick a ball around with friends never warm up, and even teams playing in amateur leagues don’t. Eventually, they pay the price. Not warming up properly results in torn calf muscles, strained hamstrings, and more.

I suffered the consequences of ignoring this advice. As a youngster, I never bothered warming up properly until I damaged both calf muscles in the same season. It has affected my performance since then. Nowadays, sometimes I have to ask to be substituted because I can feel the strain in my calf muscles building up.

Warming up increases body temperature, which reduces the chance of muscle and tendon injuries. It also increases blood flow to the muscles to be exercised, which delivers the fuels required for energy production. Another important reason for warming up is to prepare the cardiovascular system for upcoming intense physical activity. It helps the body adjust for the increase in blood and oxygen that is about to happen.

The drills

The following paragraphs describe football warm-up drills created by a panel of experts in conjunction with FIFA. These exercises were designed to reduce the risk of injury in football.

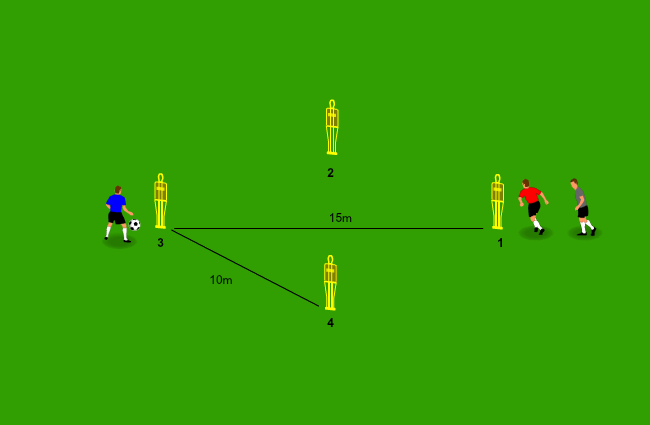
You only need 6 pairs of parallel cones, approximately 5-6 metres apart from each other. Split into two groups, two players will start at the first pair of cones and work their way along the cones, performing the various exercises.

The full programme is actually composed of 15 drills divided into 3 parts and different levels of intensity. Part 1 and Part 3 focus on running, while Part 2 covers strengthening. In my experience, most amateur teams (aka, friends that decided to form a team) will get bored quickly if all parts are included in a training session. Therefore, start with Part 1 and incorporate the other sections as your team gets fitter and players are keen to do a more comprehensive warmup. Our team only uses Part 1, and then we complete warming-up with ball exercises (e.g., rondos).

This post focuses only on Level 1 – Part 1 and Part 3.

Part 1

Jogging straight ahead: Jog to the end of the cones and back with good form. Concentrate on keeping your hips, knees, and feet aligned and your upper body straight. Do not shuffle your feet, and keep your hands out of your pockets. Perform this exercise twice.

Hip out: Jog to the first cone, then lift your knee out in front of you to hip level. Rotate the knee to the side while keeping your body facing straight ahead, and then place it on the ground. Control the movement by switching on your core muscles. Alternate legs at each cone, then jog back to the start. Perform the exercise twice.

Hip in: Jog to the first cone. Lift your knee out to 90 degrees beside you and rotate inwards. Control the movement by switching on the core to place your foot back on the ground. Make sure you keep your body facing straight ahead. Alternate legs at each cone and then jog back. Perform the exercise twice.

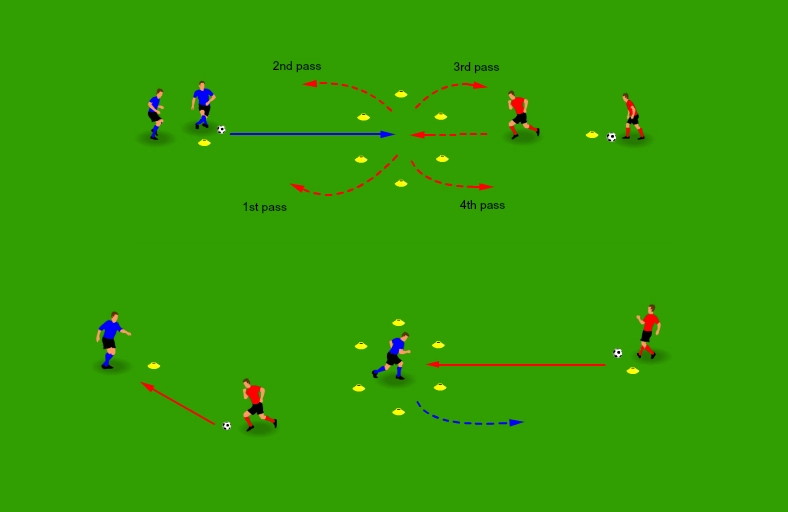
Circling partner: Jog with your partner to the first cone and then side shuffle towards your partner. Perform a tight circle around your partner, then side shuffle back to your cone. Bend at the hips and knees slightly so your glutes have switched on. Make sure your body is facing forward, keeping your weight centred. Try to match the intensity of a game movement. Make sure to communicate to your partner if you go into a circle in front or behind. Repeat the exercise to the end of the cones and then jog back. Perform the exercise twice.

Shoulder contact: Jog to the first cone. Then, inside-shuffle towards your partner and gently jump together, aiming for height bump shoulders. Try to land softly with feet shoulder-width apart and knees in line with toes ever slight. Pause on landing to check your form, then side shuffle back to your cone. This exercise is good for developing proprioception and neuromuscular control. Repeat the exercise to the end of the cones and then jog back. Swap sides and then repeat the exercise.

Quick forwards and back: We are now starting to build the intensity. Run quickly to the second cone, then quickly change direction and backpedal one cone. Keep your body facing forward, and try to use your peripheral vision to see the cone behind rather than turning your head. Make sure heels are lifted when backpedalling, and keep your hips, knees, and feet in line. Repeat two forward cones and then back to the last cone. Jog back and repeat the exercise.

Part 3

Part 3 involves running at a higher intensity to raise the heart rate and prime the body for training or a game.

Sum maximal effort sprint: Run the distance of the cones at around eighty percent of maximal effort, thinking about form over speed. Use your arms to help drive the movement while keeping the upper body straight and your chest up. Jog back to the start at an easy pace and then launch straight into your next drill.

Bounding: Take a few warm-up steps, swing your arms through with the opposite leg, and perform six to eight bounding leaps with a high knee leap driving movement. Aim for height and distance driving off the ground at a 45-degree angle. Ensure the knees stay aligned with your toes on landing and do not buckle inwards. Bound until the end of the cone and then jog back. Perform the exercise twice.

Plant and cut: Run diagonally to the first cone. Use your outside foot plant and then change direction by driving off your grounded foot. Perform the planting and cutting movements to the end of the cones and then jog back. Try not to let your knees buckle inwards. Do a slight pause on each cone the first time through, and then aim to perform the exercise faster on the second run.

Conclusion

Proper warm-up drills are essential for preventing injuries and ensuring peak performance on the field. By following the simple exercises outlined in this guide, you can improve flexibility, increase blood flow, and prepare your body for the demands of football. Consistency is key, so make these drills a regular part of your pre-game and training sessions. Remember, a well-prepared body is less prone to injury and more likely to perform at its best.


We’d love to hear how these drills benefit your team. Please share your experiences and modifications on our Facebook page or tag us in your training videos!

If you’d like more content like this, subscribe to our newsletter and receive emails with more tips and drills to improve your football skills.

Pablo Matamoros

I am a software engineer with 25+ years of experience across diverse industries. I've climbed the corporate leader over the years, which has some benefits but means I moved away from my love for tinkering with technology. So, I build the odd website or application to keep learning and stay in touch with technology. FootballTechniques allows me to combine my programming knowledge with my passion for football.

To find out more about my professional experience, visit PabloMatamoros.com